


Retourner à : Setup and Basic Workflow
L'emboîtement
À partir de la emplois page, droit cliquez sur un travail et sélectionnez l'option plan et choisir les machines sur lesquelles exécuter le travail, d'abord une machine de pliage si elle est disponible, puis la machine laser.
Vous verrez que la barre de progression du travail passe à une couleur violette qui, comme l'état des pièces, peut être survolée à l'aide de la souris et vous verrez le message d'état.
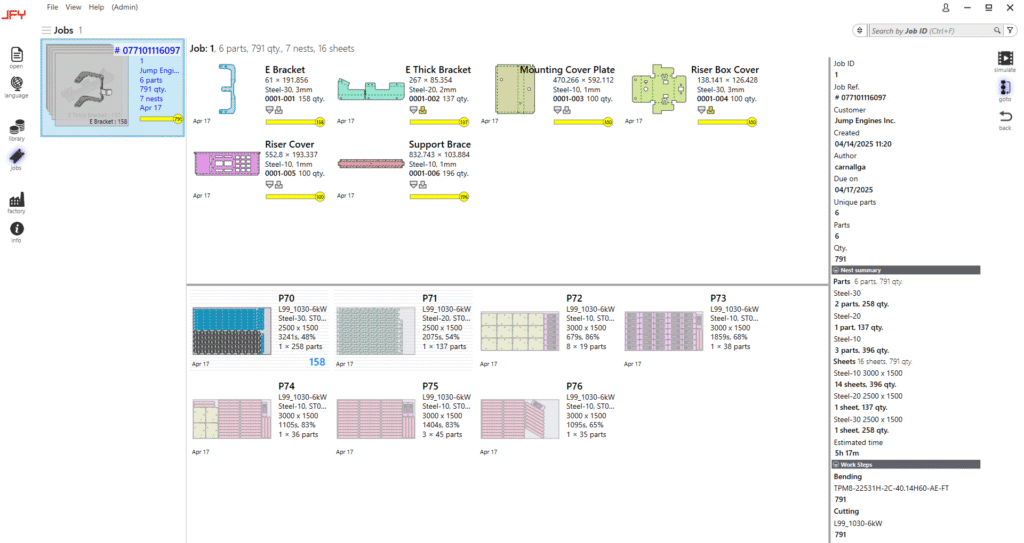
Une fois l'imbrication terminée, double-cliquez sur le travail et vous verrez les pièces en haut de l'écran et les imbrications en dessous. En cliquant sur une pièce, vous mettrez également en évidence les imbrications dans lesquelles la pièce est contenue.
En cliquant avec le bouton droit de la souris sur une imbrication, vous avez la possibilité d'éditer l'imbrication, ce qui lance l'éditeur interne dans lequel vous pouvez déplacer, faire pivoter et modifier les quantités de pièces. Cliquez sur l'enregistrement du fichier ou sur le bouton X pour fermer l'éditeur permet de sauvegarder l'emboîtement ajusté.
Outre l'édition du nid, vous pouvez également envoyer le code directement à la machine par droit en cliquant sur le nid ou un groupe de nids et en cliquant sur envoyer à la machine le programme sera alors écrit à l'emplacement spécifié.